This is just a summary of this video by sleitnick on YouTube. This is mostly for me since I would prefer reading a summary of the video over scrubbing through the video, but maybe someone else will find this useful.
Objective: Set up a fully-managed Rojo project with CI/CD pipeline & good tooling
Prerequisites #
- Roblox Studio
- Aftman, or Rust + Foreman (roblox toolchain manager)
- Git (version control)
- Rojo (sync workspace and roblox studio, building places, can be obtained via Aftman)
- rbxcloud (publishing, can be obtained via Aftman)
Setting Up the Project #
Please note that CI, Selene, and Stylua steps have been omitted.
Initializing a Rojo project #
This step is really simple; simply run rojo init in the directory you want to
initialize the project in. If you have the extension for Visual Studio Code
installed, you can also use the Rojo: Initialize command from the Command
Palette. Note that this will also create a git repostory for you.
Building a place file #
To build a place file using Rojo, simply run rojo build -o "build.rbxlx",
replacing 'build' with your preferred file name. You can create binary rblx
files by replacing rbxlx with rblx.
You will also want to exclude the place file from git. You can exclude all of
rbxlx files by adding *.rbxlx to your .gitignore file.
Sync with Rojo #
It will be very useful to have your code changes in your workspace update your
scripts in Roblox Studio. You can also do this with Rojo. You will need the Rojo
plugin, which you can install with rojo plugin. If you have the Rojo extension
for Visual Studio Code, the plugin should already be installed and managed for
you.
First, run rojo serve (or start Rojo from Visual Studio Code's Command
Palette), which will start a server that the Rojo plugin can connect to. Once
the Rojo plugin is connected, you're all set; making changes to your code should
update the scripts in Roblox Studio.
Setting up rbxcloud #
rbxcloud can be used to publish the place to Roblox, but you will have to
publish it once using Roblox Studio first. Then, you need to retrieve your place
id and universe id for later. The place id can be found at game.PlaceId, and
the universe id can be found at game.GameId.
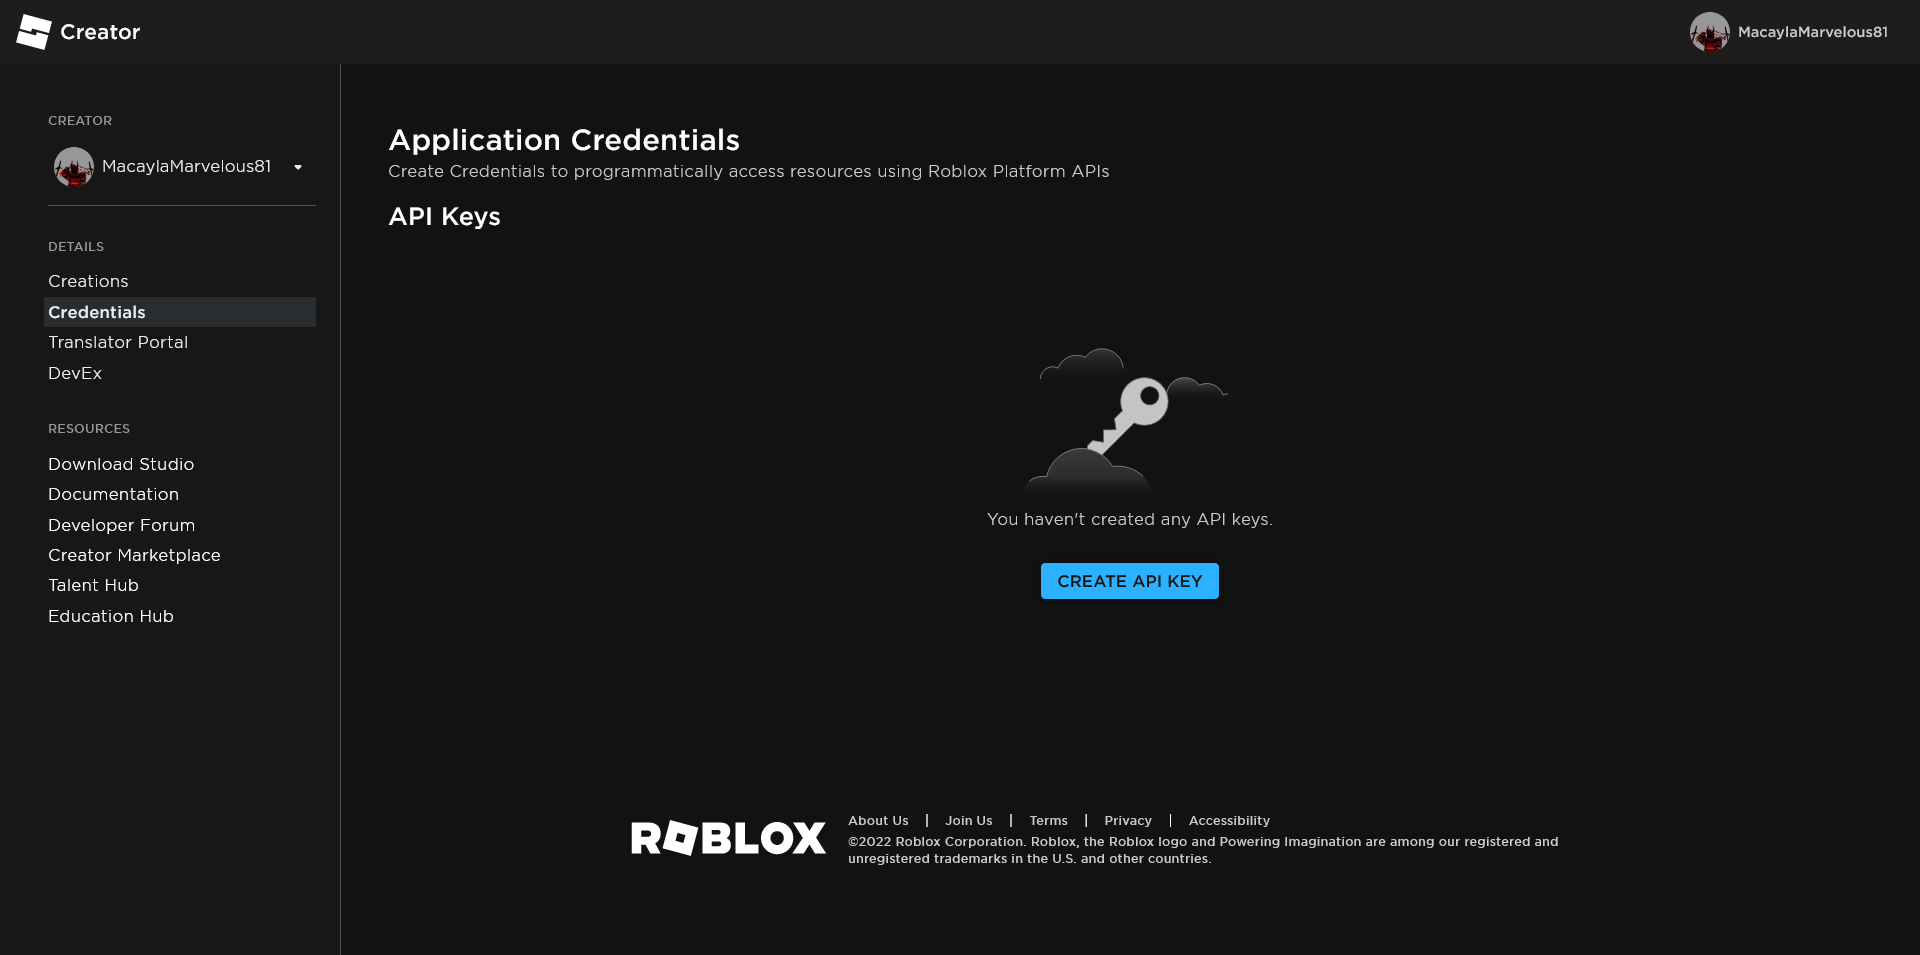
Now, you will need to create API keys for your project. To do this, open the Credentials page of the Roblox Creator Dashboard. If you haven't created any API keys, the page should look like this.

Once you click the Create API Key button, a form will appear. You may fill it out according to your preferences. The key should have Place Publishing permissions to your experience.

Once your API key is created, make sure to store it in a safe location. Now, you
can publish the place using rbxcloud with the command rbxcloud experience publish --filename build.rbxlx --place-id 1234567 --universe-id 1234567 --version-type published --api-key key. Of course, you should replace
'build.rbxlx' with your place file path, and 1234567 with your place id and
universe id.
Now, your Roblox project should be set up! Enjoy :)